WordPress site migration is a structured host-transfer process that moves files, database records, themes, and plugins from a source server to a destination host while keeping the live site accessible throughout DNS cutover. A migration plan built around plugin cloning, a staging environment, and a scheduled DNS cutover keeps visitors on the working old site until the new one is fully verified, which is what makes zero-downtime migration achievable rather than aspirational. The risk is not the transfer itself: it is skipping a verification step, mismatching the PHP or MySQL version between hosts, or rushing the DNS cutover before the staged copy has been checked end to end.
Every step below assumes a self-managed WordPress install on a host you control by SFTP or SSH, not a fully managed migration handled entirely by support staff; the difference between doing it yourself and outsourcing it to a host's migration team is covered later. None of this guarantees zero downtime unconditionally: the actual outcome depends on site complexity, how carefully the cutover is executed, and how closely the new server's environment parity matches the old one.
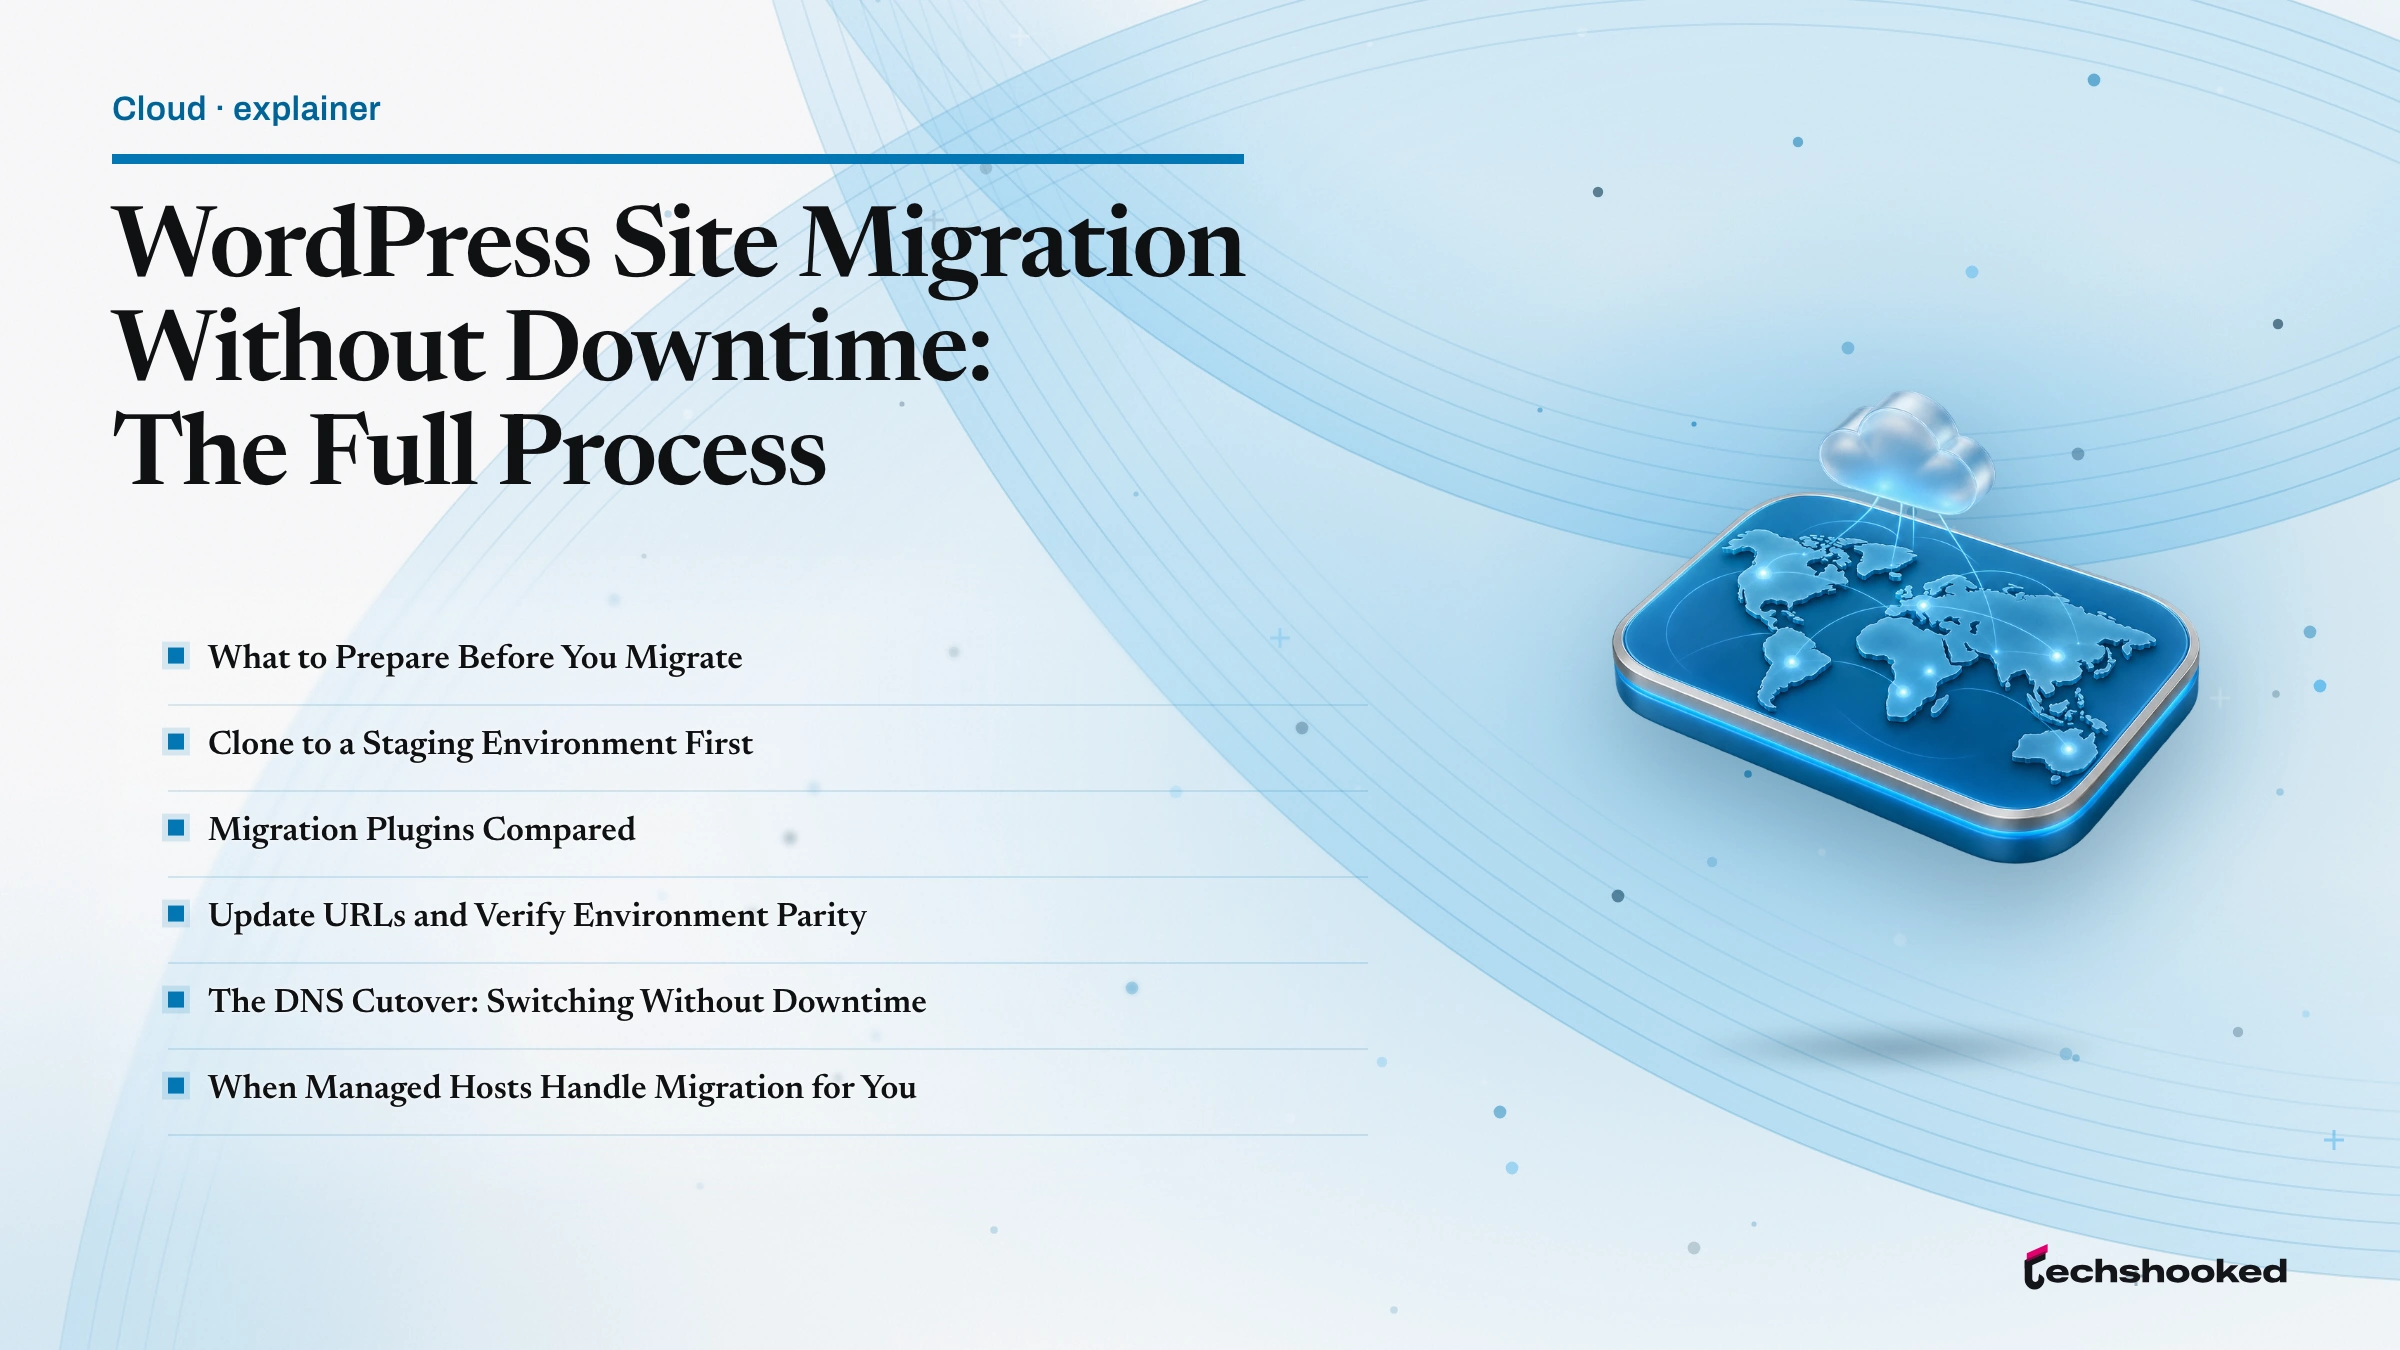
What to Prepare Before You Migrate
A WordPress site migration succeeds or fails on the five minutes of prep before any file moves, not on which plugin does the actual transfer. WordPress.org's own backup guidance treats a full backup as two separate deliverables: the wp-content files (themes, plugins, uploads) and a full database export, and a restore only works if both survive the trip intact (WordPress.org: WordPress Backups). Skipping either half is the single most common way a migration turns into a support ticket.
- Export the full database and every wp-content file as one paired backup, using a plugin such as All-in-One WP Migration, Duplicator, or UpdraftPlus, or a manual database export through phpMyAdmin or WP-CLI.
- Open wp-config.php on the old host and record the exact PHP version and the MySQL or MariaDB version the site runs on.
- Confirm the new host offers a matching PHP version and the same MySQL or MariaDB release family before committing to a migration window.
- Gather SFTP or SSH credentials for both hosts, plus cPanel or a hosting-panel login if either environment is managed through one.
- Write down the current site URL exactly as it appears in the browser address bar; every later step depends on getting the URL replacement right.
Clone to a Staging Environment First
The safest path to a zero-downtime WordPress migration is building the complete new environment, files, database, and configuration, on the destination server before any visitor touches it. A plugin such as Transferito or WP Engine's own Automated Migration plugin runs the whole clone from inside WordPress: Transferito's listing describes migrations that run directly on your server rather than through a remote relay, with an average migration completing in about 45 seconds (WordPress.org: Transferito), and WP Engine positions its Automated Migration plugin as a way to transfer files, databases, and settings onto WP Engine hosting with minimal effort (WP Engine: Migrate WordPress). Some plugins also offer an optional maintenance mode toggle for the old site during the final sync, though a staging environment already verified in advance usually shrinks that maintenance mode window to a few seconds.
The manual route fits hosts where no plugin can run on either end: rsync for a full file-level copy, a WXR export through the built-in WordPress importer and exporter for content only, a WPRESS archive when that format is the only thing a host will accept, and Adminer as a lightweight alternative to phpMyAdmin for the database side.
- Provision the new hosting account first and confirm SFTP or SSH access works before touching the old site.
- Run the full clone, either through a migration plugin's one-click export and import or through a manual rsync or WPRESS transfer for hosts where no plugin fits.
- Load the clone into a staging environment on the new host, such as the staging tools inside a WP Engine User Portal, without touching public DNS yet.
- Load the admin dashboard, every custom template, and any plugin-dependent page on the staged copy, checking for missing assets or broken paths before moving on.
- Leave the WordPress Address (URL) and Site Address (URL) exactly as they are on the staged copy for now; updating them is its own step once the environment checks out.
Migration Plugins Compared
Picking the right tool for a WordPress site migration comes down to automation versus manual control over URL replacement and serialized data. All-in-One WP Migration is the most widely installed option in the WordPress.org plugin directory: its listing describes single-click migration of the database, media, plugins, and themes together, with automatic URL and path replacement in the import step (WordPress.org: All-in-One WP Migration). 1-Click Migration takes a similar approach: its listing states the live site stays fully operational throughout, and that URLs and serialized data update automatically on a domain change (WordPress.org: 1-Click Migration). The six other options below trade that simplicity for larger-site handling, or skip the all-in-one approach for precise database push and pull control.
| Plugin | Free-tier file size | Automatic URL replacement | Serialized data handling | Zero-downtime claim |
|---|---|---|---|---|
| All-in-One WP Migration | Small-to-medium; premium tier for larger sites | Yes, automatic on import | Rewrites paths on import | Vendor: site stays up throughout |
| 1-Click Migration | Small-to-medium sites | Yes, on domain change | Auto-updates on import | Vendor: fully operational during transfer |
| Duplicator | Small-to-medium; Pro tier for larger sites | Yes, via its installer | Rewrites paths via installer | Short cutover window at the final DNS step |
| Migrate Guru | Large sites; processed off your server | Yes, automatic | Handled server-side, off-site | Vendor markets a no-downtime automated service |
| WP Migrate | Database-focused; media handled separately | Yes, via push/pull find-and-replace | Purpose-built for serialized data | No blanket claim; built for controlled push/pull |
| BlogVault | Larger sites; own staging infrastructure | Yes, automatic | Handled via its staging service | Vendor markets a managed, minimal-downtime migration |
| WP Engine Automated Migration | Built for WP Engine hosting | Yes, automatic | Handled as part of the transfer | Vendor: minimal-effort transfer |
| Transferito | Runs on your own server, not a remote relay | Yes, automatic on import | Rewrites paths as part of the transfer | Vendor cites an average migration under a minute |
None of these plugins eliminates the need for the environment parity checks in the next section: URL replacement inside a plugin only rewrites what the plugin can see, and a mismatched PHP or database version underneath it undermines zero-downtime migration regardless of which tool moved the files there.
Update URLs and Verify Environment Parity
Every WordPress site migration depends on two things once the files land: getting the URL replacement right and keeping the serialized data intact. WordPress.org's migration documentation is explicit that both the WordPress Address (URL) and the Site Address (URL) fields must include https:// and must not end with a trailing slash, and that a mismatch between the two is a common cause of redirect loops (WordPress.org: Migrating WordPress); a few installs override those values through wp-config.php constants instead, so check there too if the Settings screen looks right but the site still misbehaves. WordPress stores much of its configuration, from widget settings to page-builder layouts, as serialized data, and a plain find-and-replace on that domain string corrupts the array length prefix and breaks the record. Search Replace DB and the WP-CLI search-replace command both update serialized data safely, recalculating those length prefixes instead of editing the raw string.
- Run Search Replace DB or the WP-CLI
wp search-replacecommand against the old domain, letting the tool handle serialized data instead of a manual find-and-replace. - Update the WordPress Address (URL) and the Site Address (URL) in Settings > General, keeping both fields identical unless the install intentionally separates the two.
- Confirm the new host runs a compatible PHP release and the same MySQL or MariaDB family, ideally PHP 8.x with MySQL 8.0 or MariaDB 10.x; a mismatch is a leading cause of fatal errors after cutover, per WP Engine's zero-downtime migration guidance (WP Engine: Zero-Downtime Migrations).
- Clear any full-page cache immediately, whether WP Rocket, W3 Total Cache, or a host-level cache, since a stale page keeps serving old URLs even after the database is fixed.
- Re-save permalinks under Settings > Permalinks and clear any SEO plugin's cached sitemap, in Rank Math or Yoast SEO, so it reflects the new URLs.
Getting the URL fields and the runtime versions aligned is what environment parity actually means in practice, and it is worth confirming before moving to the DNS cutover.
The DNS Cutover: Switching Without Downtime
The final stage of a WordPress site migration is the DNS cutover, the moment visitors start reaching the new server instead of the old one. The single biggest lever for shortening that transition is DNS TTL, time-to-live (TTL): the setting telling resolvers how long to cache a domain's records before checking again. Lowering the DNS TTL and building a staging environment in advance are the two practices WP Engine calls out most for a zero-downtime migration (WP Engine: Zero-Downtime Migrations). Understanding how DNS propagation works explains why some visitors still land on the old server briefly even after the change goes out: individual providers and browsers each keep their own cache, and a low TTL is a request to refresh sooner, not a guarantee.
- Lower the TTL to a low value, such as 300 seconds, 24 to 48 hours before the planned cutover, whether the zone lives at Cloudflare, Route 53, or GoDaddy DNS, per WP Engine's guidance (WP Engine: Zero-Downtime Migrations).
- Confirm the staged copy responds correctly by editing a local hosts file to point the domain at the new server's IP, bypassing public DNS for the preview.
- Update the A record, or the CNAME if the new host uses one, and change the nameserver only if the zone itself is moving providers.
- Renew or reissue the Let's Encrypt SSL certificate on the new host immediately; HTTPS breaks without a valid certificate for the domain.
- Watch uptime through Pingdom or UptimeRobot during the propagation window, and keep the old host's DNS entry ready to revert if errors spike.
- Submit the sitemap in Google Search Console within 24 hours of cutover so re-crawling starts against the new URLs.
None of the plugin work or the environment parity checks from earlier sections matter if the DNS cutover itself is rushed.
When Managed Hosts Handle Migration for You
Everything above assumes a WordPress site migration done by hand, but most managed WordPress hosts will do the heavy lifting for a new account instead. WP Engine's Managed Migration service pairs automation with a human specialist who validates the site in a staging environment and manages the DNS transition directly, a combination WP Engine positions as protecting existing SEO rankings through the move (WP Engine: Migrate WordPress). Kinsta, Cloudways, SiteGround, Hostinger, Nexcess, Pressable, and GreenGeeks each include at least one free migration with a new account, though the depth of staging validation and the SFTP-level access a customer keeps varies by host. A managed migration trades control and cost for a specialist handling the plugin selection, the URL replacement, and the DNS cutover coordination, while the manual path above keeps every decision, and every point of failure, with whoever runs it.
- WP Engine
- A specialist validates the clone in a staging environment and manages the DNS transition, alongside a self-serve Automated Migration plugin option.
- Kinsta
- Free migration for new accounts, typically handled by its own migrations team rather than a customer-run plugin.
- Cloudways
- Migration support for new accounts across its underlying cloud providers, with staging environments for pre-cutover checks.
- SiteGround
- Its own migrator plugin, plus a free professional migration for qualifying new accounts.
- Hostinger
- A bundled website migration option for customers moving from another host, no server settings required.
- Nexcess
- Assisted migrations for new accounts moving an existing WordPress or WooCommerce site onto its platform.
- Pressable
- A concierge-style migration for new accounts as part of its managed WordPress plans.
- GreenGeeks
- A free account migration for new customers moving an existing WordPress site onto its hosting.
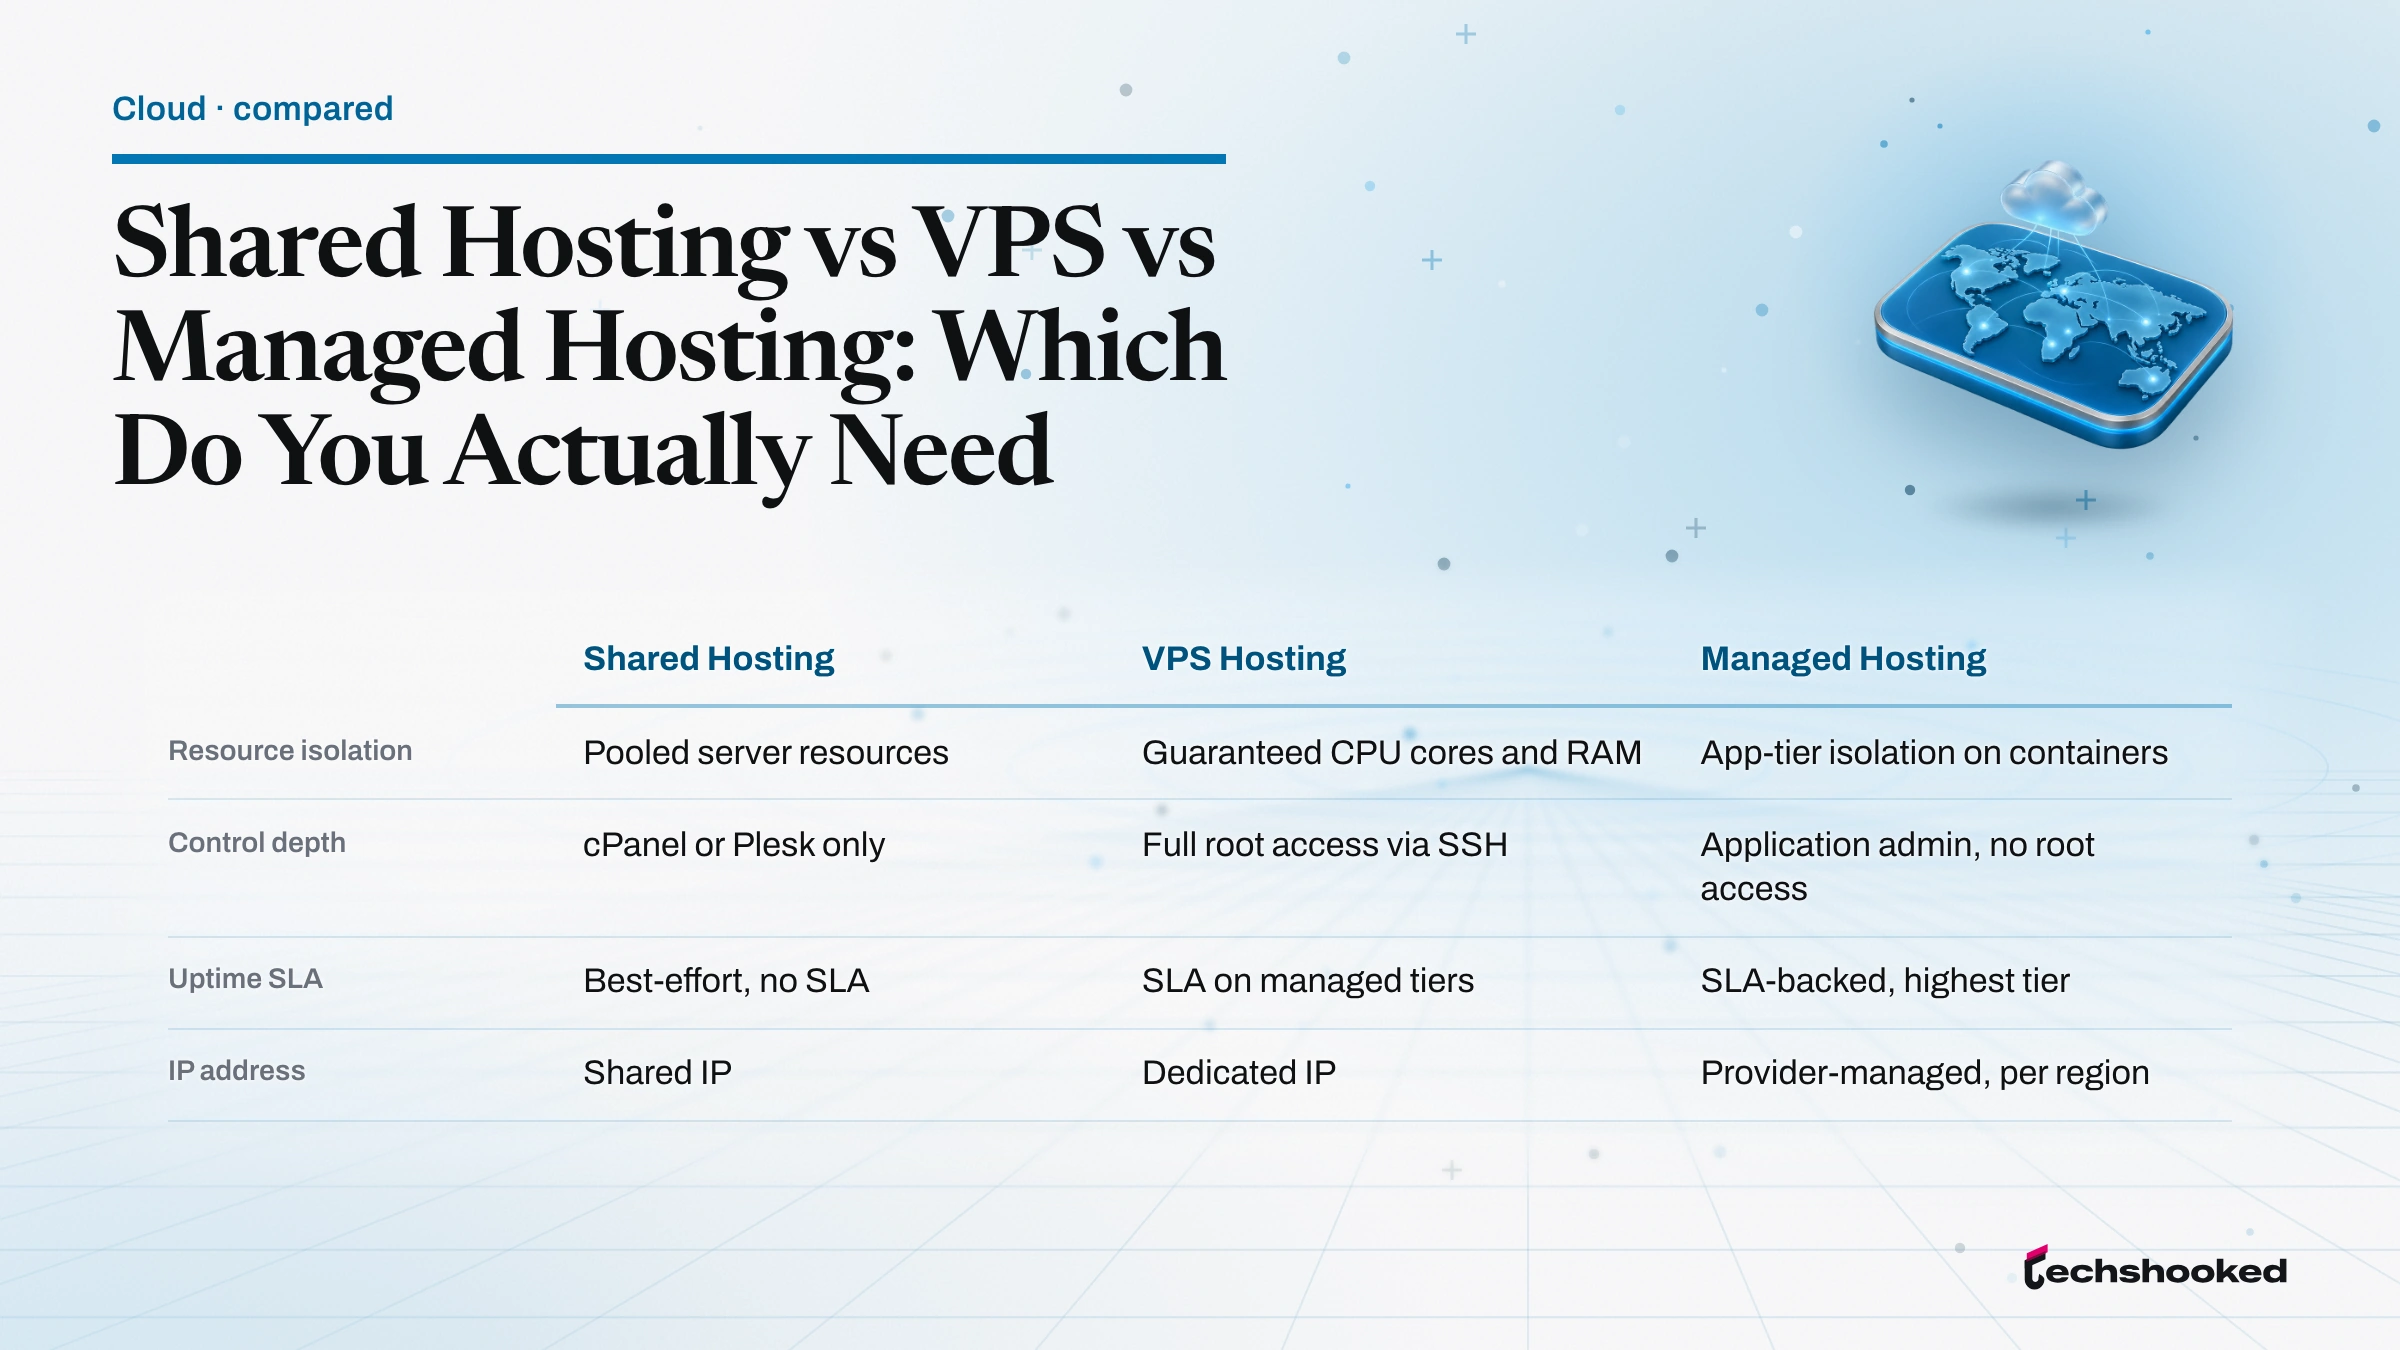
Choosing between these hosts is closer to a shared vs VPS vs managed WordPress hosting question than a migration-mechanics one, and a host swap is also a good moment to revisit choosing a CDN for WordPress, since a CDN's origin server setting usually needs updating at the same time. Which managed host handles a migration best, and how Cloudways, Kinsta, and WP Engine compare head to head on staging depth and pricing, are questions for a dedicated comparison rather than this guide.
Further reading
Frequently Asked Questions
Will my website go down during migration?
A properly staged migration keeps your live site running on the old host until DNS cutover completes. Downtime risk concentrates in the final DNS propagation window, typically under an hour if you pre-lowered DNS TTL to 300 seconds beforehand. Plugin-based cloning, environment parity checks, and hosting the staged copy on the destination server in advance all reduce that window to near zero.
Will I lose SEO rankings when I migrate my WordPress site?
Slug and URL structure preserved on the new host carries over your existing rankings intact. Risk factors are broken internal links, missing redirects for any changed URLs, and a temporary crawl delay during DNS propagation. Verify your WordPress Address and Site Address settings match the final domain, clear all caches, and submit your sitemap in Google Search Console within 24 hours of cutover.
What should I do if something breaks after DNS cutover?
Keep the old hosting account active for at least 48 hours after cutover so you can re-point DNS back instantly. Check the PHP error log on the new host first; environment parity mismatches (PHP or MySQL version differences) are the most common source of fatal errors per WP Engine. If the admin panel is inaccessible, restore the backed-up wp-config.php and re-run the URL search-replace.
Which migration plugin is best for beginners?
All-in-One WP Migration is the most commonly cited beginner option. Its drag-and-drop export and import process requires no technical knowledge, and it handles automatic URL and path replacement during the transfer. The free tier supports sites up to a size limit set by the new host's upload constraints; larger sites may need the premium extension or an alternative such as Duplicator.